Weber Update Log
1. Sign in to your Google account first
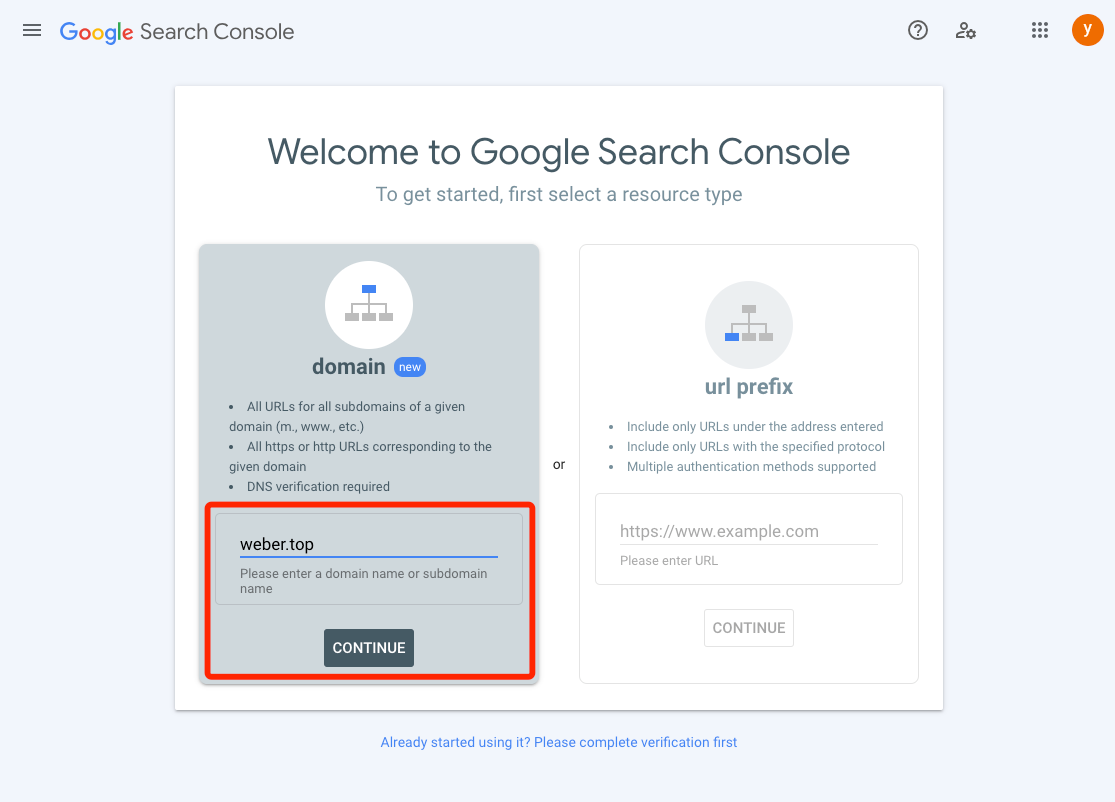
Then click to open https://search.google.com/search-console/welcome
After entering weber.top in the left domain, click Continue
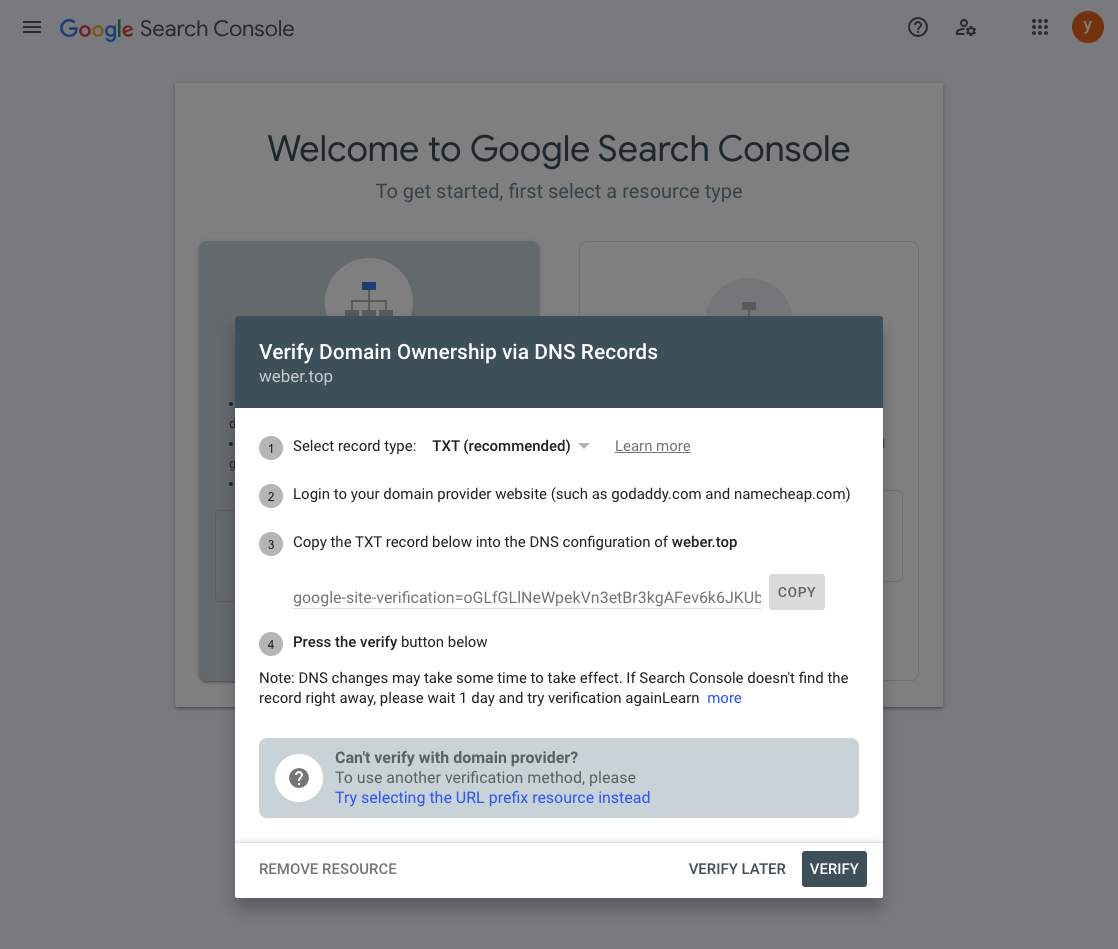
Copy the TXT record to the DNS of the weber website for resolution, and then click Verify(Note: DNS changes may take some time to take effect. If Search Console doesn't find the record right away, please wait 1 day and try verification againLearn)
Create OAuth according to the link tutorial and then generate OAuth2.0 client ID
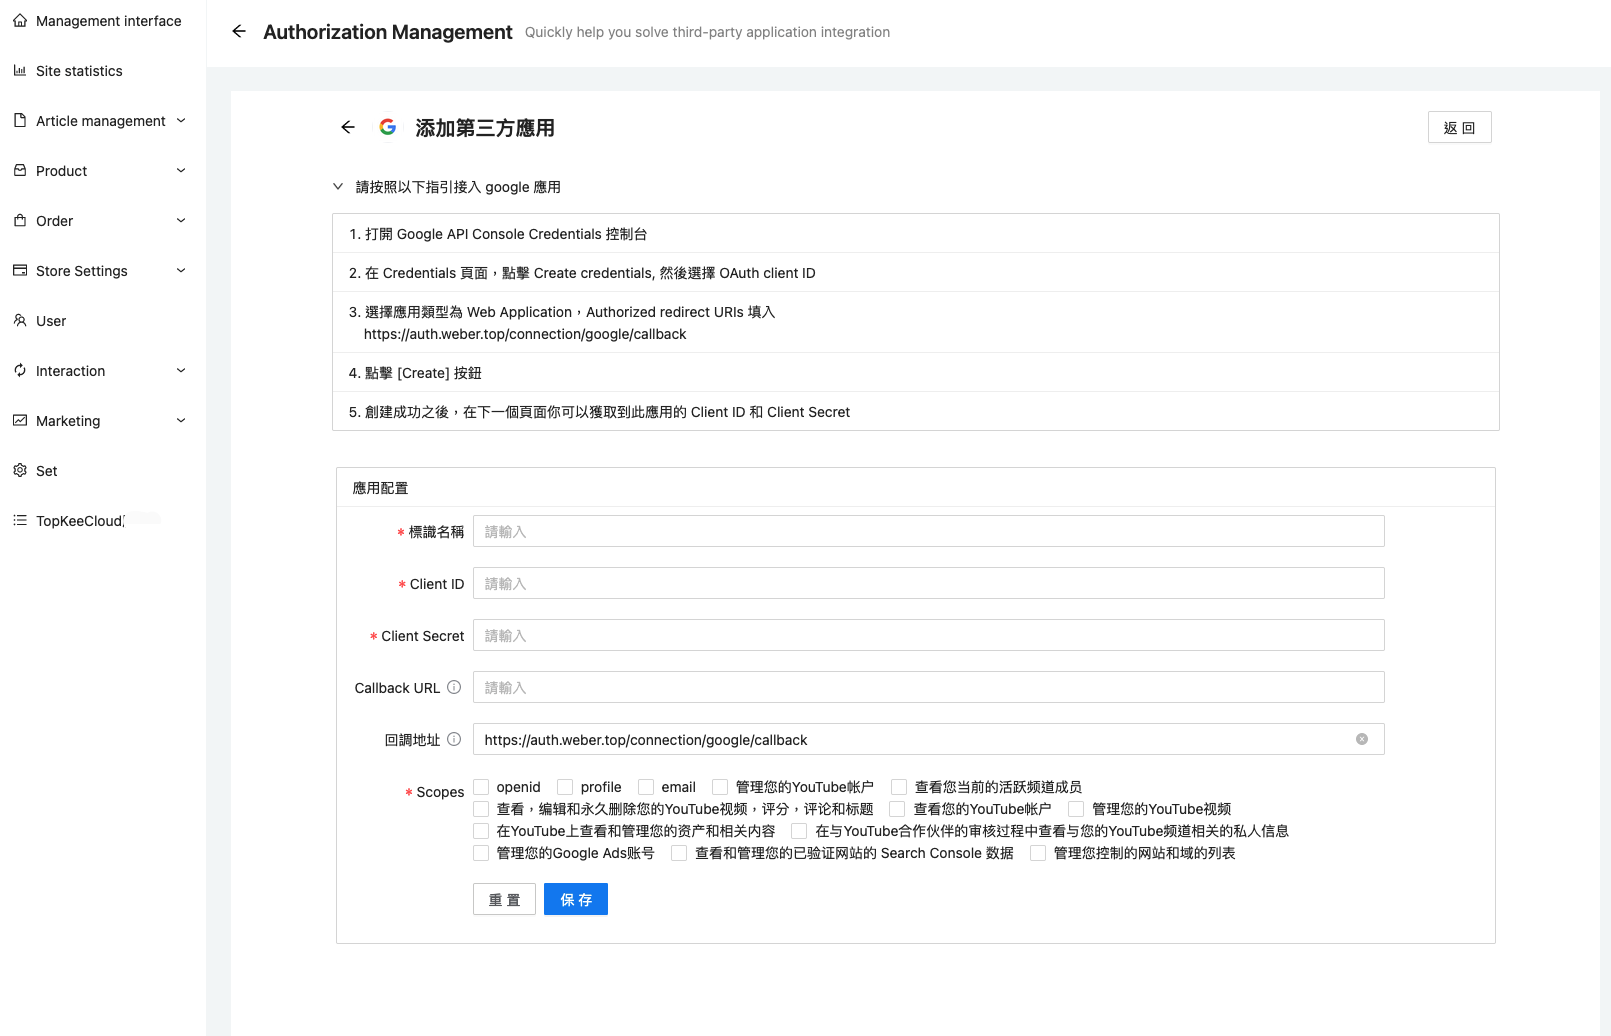
Copy the ID and key and paste it to the weber background
3.
4.Fill in the name according to your needs,Fill in the ID and secret just generated in Google
Scopes Choose according to your own needs, generally choose the first three(openid、profile、email)
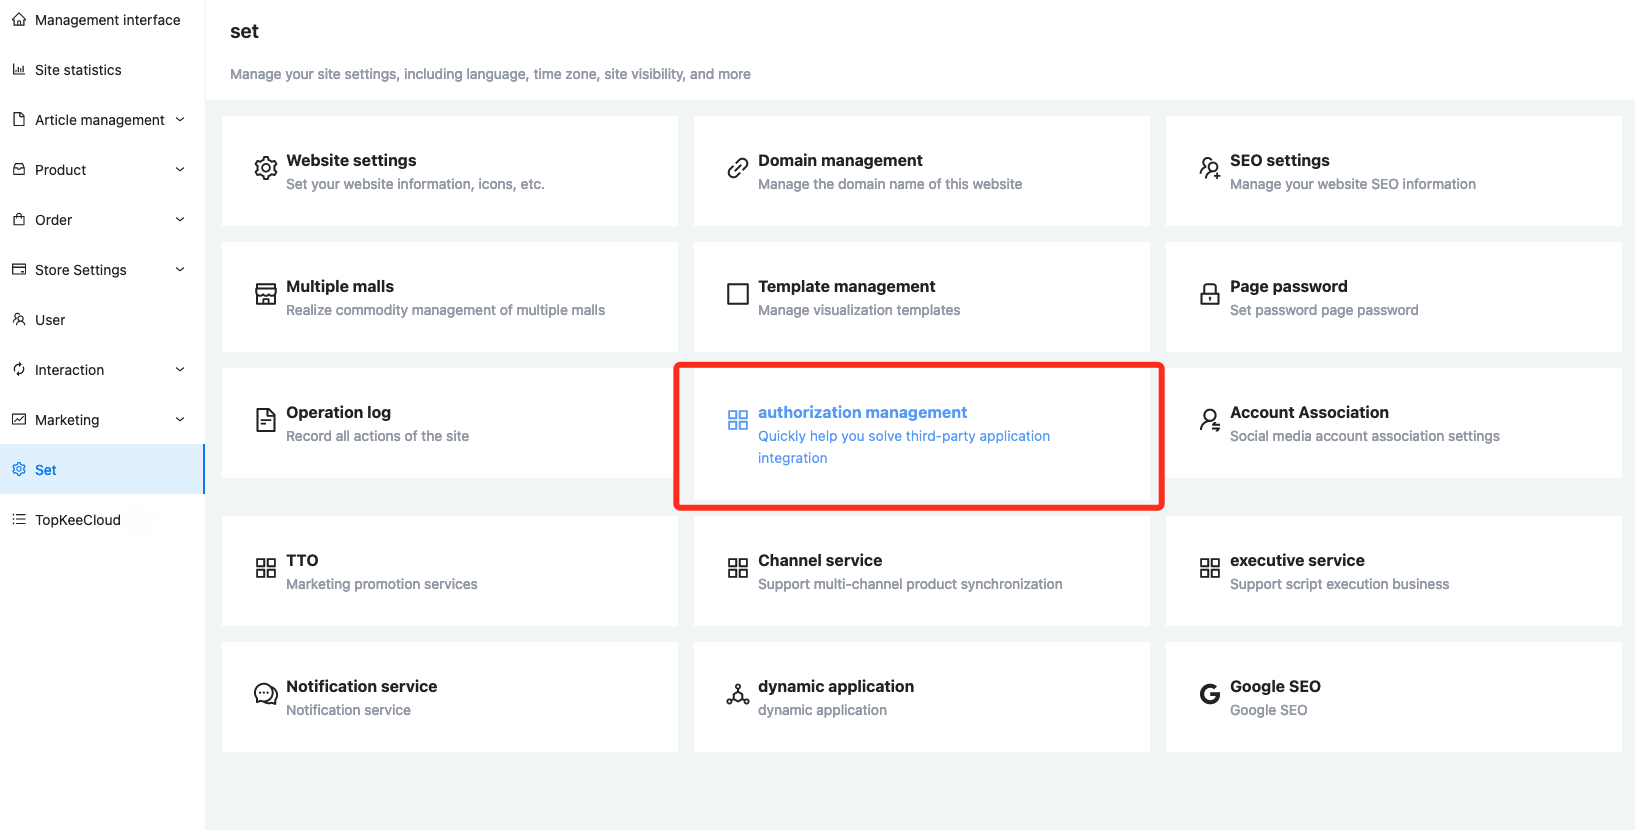
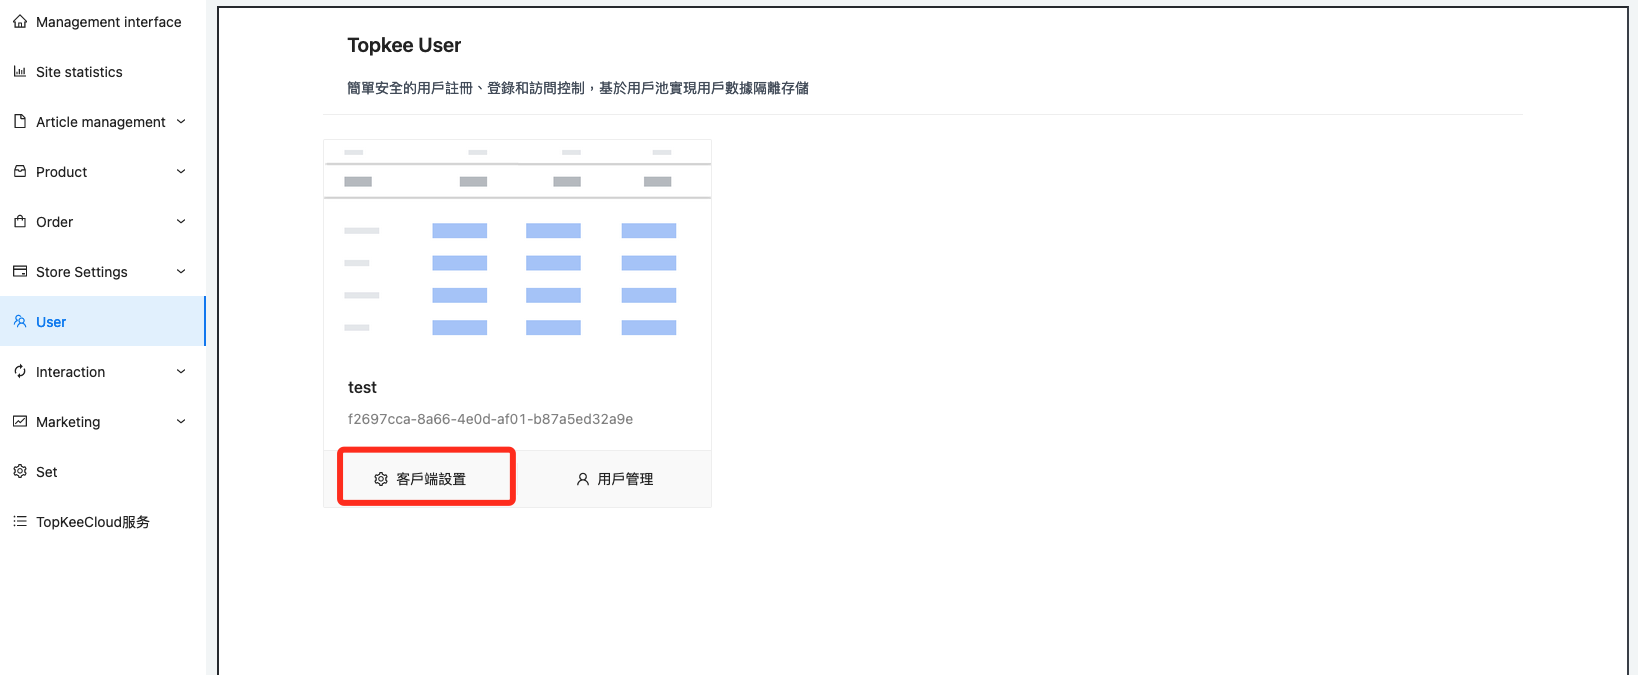
5.After configuration, find the user list and click Client Settings
6.Enable configured Google sign-in
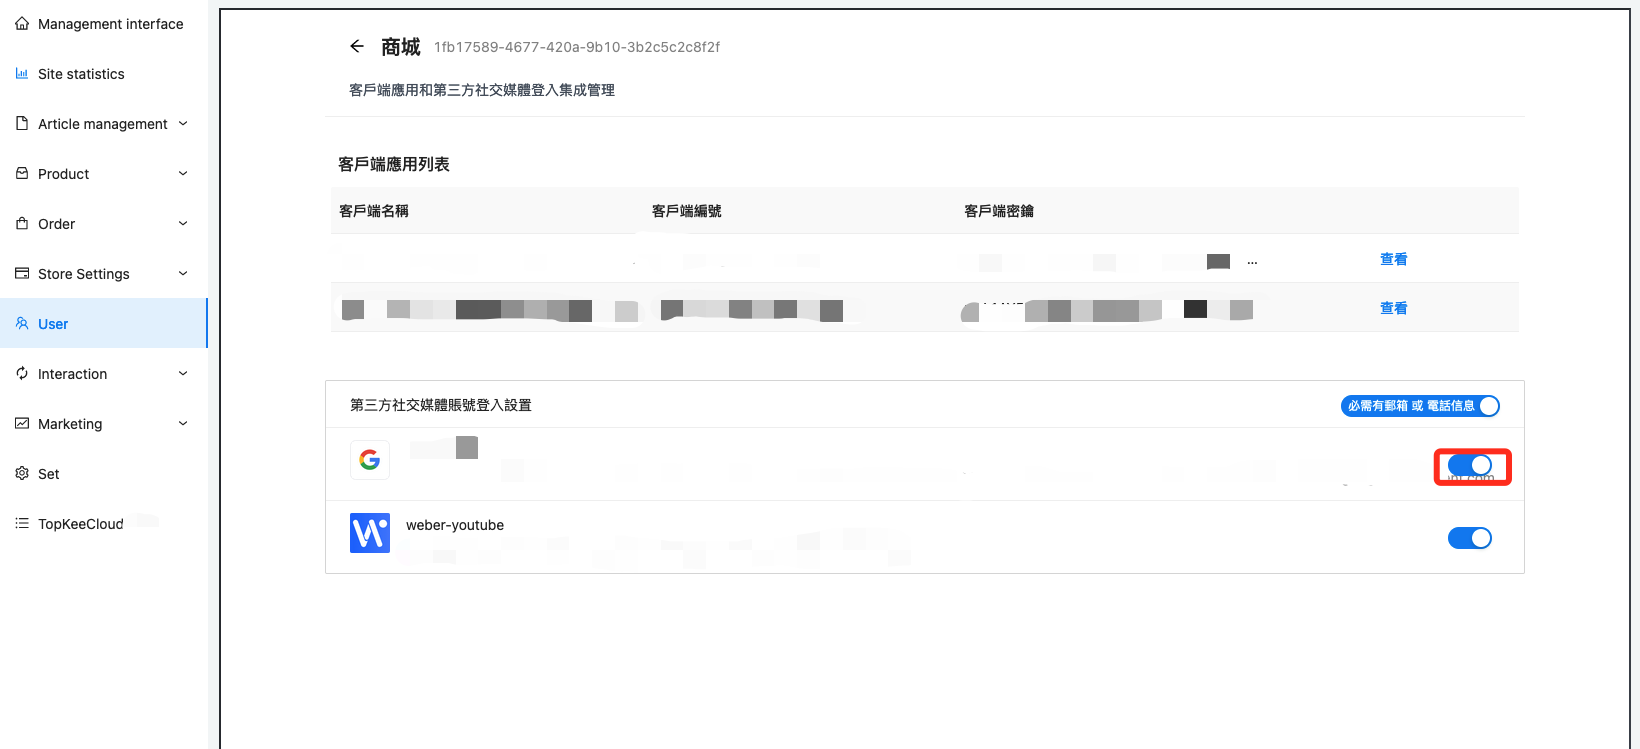
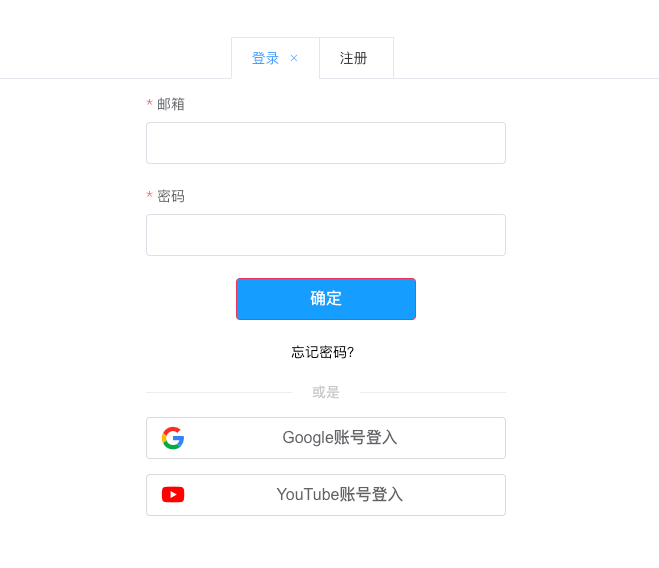
7.You can see that there is already a Google login on the login page